Back to Dreamweaver Techniques
It's important when you work with Dreamweaver to create a Dreamweaver site for each project you work on. A site groups all of your files together inside Dreamweaver and lets you do important site functions such as checking links.
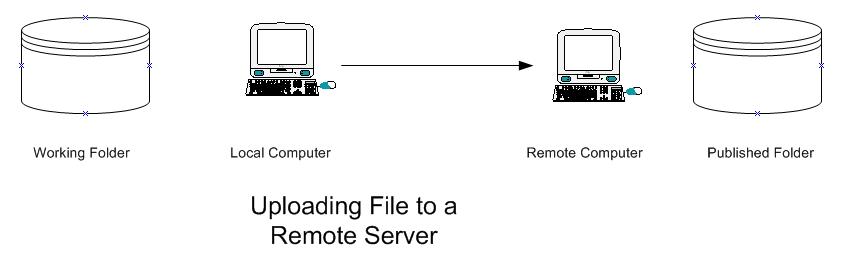
A Dreamweaver site also lets you edit files in your My Documents folder and then upload the files to a remote server. If you upload your files at the end of every class period then you'll halways have a backup of your website and your teachers will be able to follow your progress.
Follow these steps:
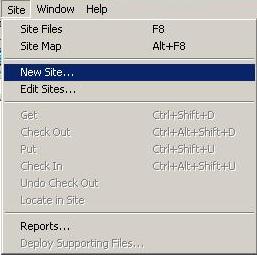
1) Start the new site by clicking on the Site menu and choosing New Site... This will bring up a series of questions
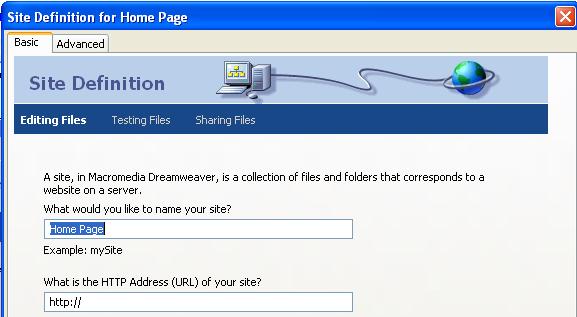
2) Enter a name for your site and click Next
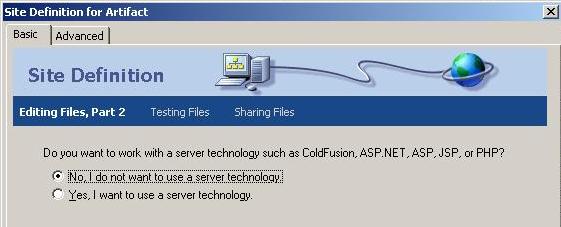
3) Choose No for a server technology and click Next
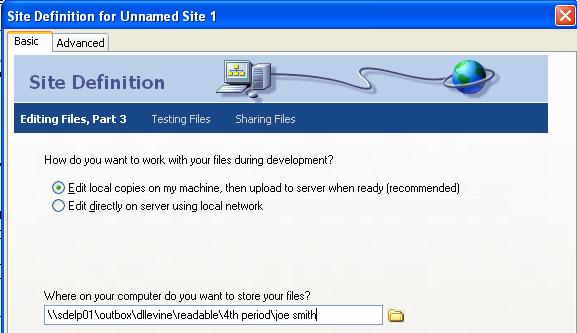
4) Choose to Edit local copies on my machine
and click Next
6) Set up your remote server
Follow these steps. The picture below shows the result.
a) For How do you connect to your remote server choose Local/Network
b) Click the yellow folder
c) Browse to the outbox
(in this example \\sdelp01\outbox)
d) Continue browsing to your personal folder in the outbox.
Go to the dllevine folder
then to the readable folder
then to your class period folder
then to your name.folder
e) Now create a folder for this web site
Click the New Folder button
then type the name of your project
f) click on the Select button
Your screen should look something like this:
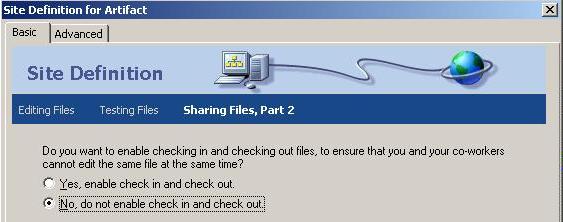
7) Unless this is a group project, choose No, do not enable check in and check out and click Next.
8) Click Done.
You've just created Dreamweaver site for your project.