a) Click on the File menu and choose New
| b) Choose Basic Page and then HTML
|
 |
c) Click the Create button
Most web sites have lots of pages. Most web site designers want to have the same colors and fonts on each page. Designers use cascading style sheets (CSS) to give every page the same look. When you change styles in a style sheet, all the pages that use the style sheet change.
This exercise will show you how to make and use simple style sheets.
Follow these steps:
1) Start Dreamweaver
2) Create a new site
a) Click on the Site menu and choose New Site.
b) Name the site John Smith Styles but use your own name in place of John Smith, then click Next
c) Choose No, I do not want to use a server technology, then click Next
d) Click Next
e) Choose None for the question How do you connect to your remote server, then clicke Next
f) Click Next, then click Done
3) Create an HTML page
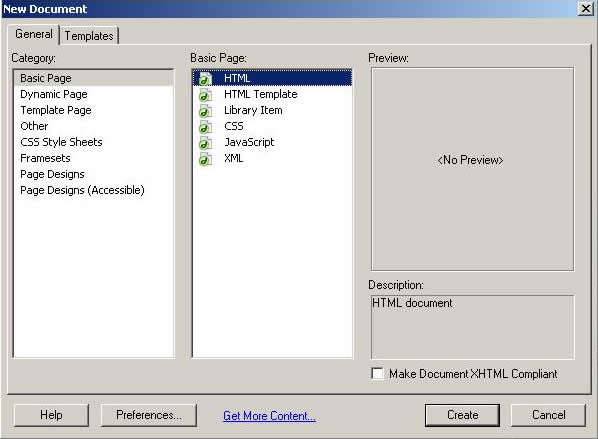
a) Click on the File menu and choose New
b) Choose Basic Page and then HTML
c) Click the Create button
4) Save your page
a) Click the File menu and then Save
b) Enter Page1 as the file name
5) Type a heading
a) Click on the document and type Page 1, then press the Enter key
b) Select the text you just typed
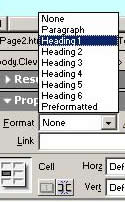
c) Select the Heading 1 format from the Format list at the bottom of the screen
6) Below the heading, type one sentence with any text you want
| 7) Your page should look something like this: | 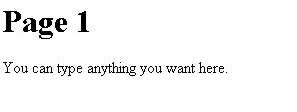 |
8) Create a second page by repeating steps 3 - 7 but call the new file Page2 and make the heading Page 2.
9) Create a style sheet
a) Click on the Text menu, then select CSS Styles, then select New CSS Style...
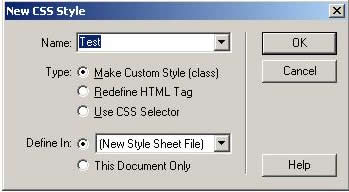
b) Enter Test for the Name
c) Click the black triangle next to Define In and choose (New Style Sheet File)
d) Click OK
e) Choose Test for the File name
10) Give the style some properties
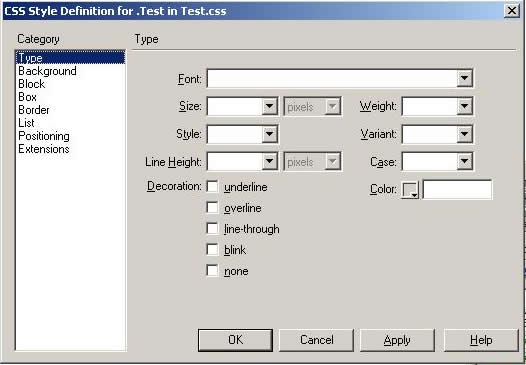
a) Make sure that the Type Category is selected on the left
b) Choose a Font and a Color
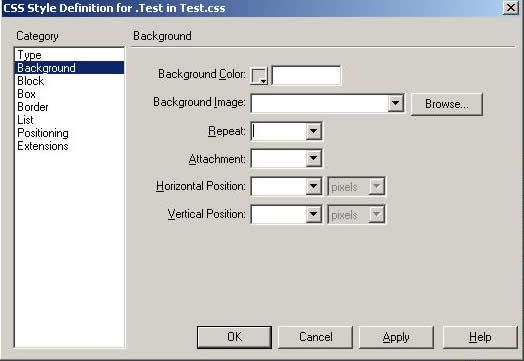
c) Click the Background Category on the left
d) Click on the square next to Background Color and choose a color
11) Attach the style sheet to Page 1
a) Go back to your Page 1
b) Click the Text menu, then select CSS Styles, then select Attach Style Sheet...
c) Select the Test.css file
d) Click OK
12) Apply the style sheet to the entire document
a) Click the Edit menu and choose Select All
b) Click the Text menu, then select CSS Styles, then select the Test style
Page 1 should now show the styles you chose in step 10
13) Go to your Page 2 and repeat steps 11 and 12
14) Change the style
a) Click the Text menu, then select CSS Styles, then select Edit Style Sheet...
b) Choose Test.css, then click Edit
c) Choose .Test, then click Edit
d) Change the text font and color and the background color
e) Click OK, then click Save, then click Done
15) Check that both Page 1 and Page 2 show the new font and colors
16) Now change the heading style
a) Click the Text menu, then select CSS Styles, then select New CSS Style...
b) Choose Redefine HTML Tag
c) Type h1 for the Tag
d) Click OK
e) Choose a text font and a color
f) Click OK
g) Check that the headings on Page 1 and Page 2 show the new font and colors
17) Copy the entire John Smith Styles folder to the your period's folder in the Writeable part of the outbox.